
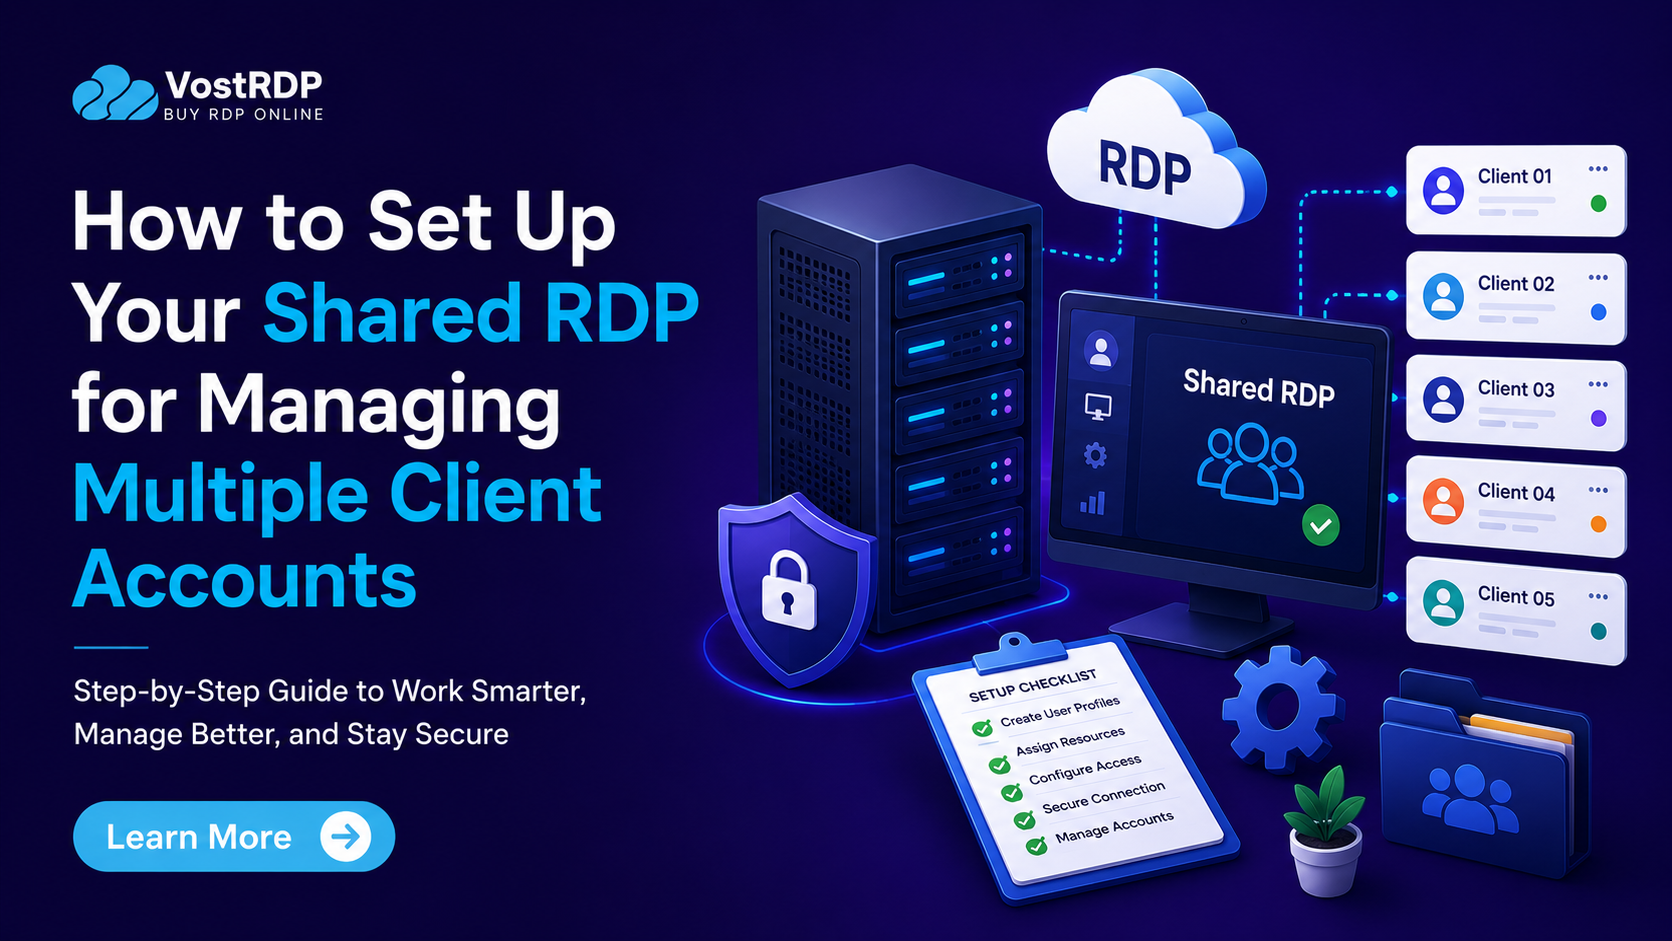
Buying a shared RDP is the easy part. Knowing how to set it up so you can move between five different client logins without mixing up passwords, bookmarks, or scheduled posts is what actually determines whether the server earns its keep. This guide walks through setting up shared RDP for social media management and general VA work from your first login to a repeatable daily routine so the server works the way a real multi-client workflow needs it to.
Before You Start: Check What’s Included in Your Shared RDP
Before you begin working with client accounts, take a few minutes to understand your server. Every shared RDP plan is a little different. Some providers include popular browsers, Office tools, ZIP extractors, PDF readers, and basic utilities, while others only install the essentials. Knowing what is already available helps you avoid unnecessary support requests and lets you start working faster.
It is also a good idea to check your available storage space, internet speed, and desktop layout on your first login. Create a clean workspace by removing shortcuts you don’t need and placing important folders where you can find them easily. Spending just a few minutes organising your server now can save you hours later when you are handling multiple clients and daily tasks.
Step 1 – Log In and Get Orientated
Connect using the built-in Remote Desktop Connection app on Windows (search for “mstsc”) or a third-party RDP client if you’re on Mac. Enter the IP address, username, and password your provider sent you. Once you’re in, spend a few minutes checking display resolution and clipboard settings. Enabling clipboard sharing between your local device and the remote session makes moving passwords and text between the two far less painful.
Step 2 – Set Up Separate Browser Profiles per Client
This is the single most useful habit for anyone managing multiple accounts on one machine. Instead of logging in and out of the same browser window all day, create a separate browser profile for each client. Most modern browsers support this natively. Each profile keeps its own cookies, saved logins, and bookmarks bar, so switching clients is a matter of switching windows, not signing out and back in.
● Name each profile clearly by client (not by platform) so it scales as you add accounts.
● Save each client’s key login pages as pinned tabs within that profile.
● Avoid logging into a second client’s account inside a profile that already belongs to another client; this is what actually causes cross-account confusion, not the server being shared.
Step 3 – Install Your Scheduling and Management Tools
Browser-based platforms such as Buffer, Hootsuite, SocialPilot, or Agorapulse don’t need installation at all; just log in within the relevant client’s browser profile. If a client specifically requires a desktop application that isn’t already on the server, check whether it’s on the pre-installed list first; if it isn’t, submit a support request rather than trying to force an install without admin rights, since most shared plans restrict that by design.
Step 4 – Organise Files and Bookmarks by Client
Create a top-level folder per client on the desktop or in Documents, and keep content assets, reports, and downloads inside it. This sounds basic, but it’s the difference between finding a client’s Q3 content calendar in five seconds versus digging through a single unsorted downloads folder. Mirror the same structure in your browser bookmarks bar so the folder names match across both.
Step 5 – Set a Routine for Logging Off and Backups
Log off (not just disconnect) when you’re finished for the day; this frees up your session’s share of resources for other users on the same server and is simply good practice on a shared machine. If you’re storing anything client-sensitive, keep a backup routine outside the server itself (cloud storage or a local backup), since a shared RDP is a workspace for active tasks, not a long-term archive.
Common Mistakes to Avoid When Using Shared RDP for Client Work
| Avoid common shared RDP mistakes by using a separate browser profile for each client, keeping files in organised folders, backing up important data regularly, and logging off properly after work. These simple habits prevent account mix-ups, protect your files, improve security, and keep your workflow smooth. A well-organised shared RDP helps you manage multiple clients more efficiently every day. |
A shared RDP can make your daily work much easier, but a few small mistakes can slow you down or create confusion. One of the biggest mistakes is using the same browser profile for every client. This mixes cookies, saved passwords, and browsing history, making it easy to log into the wrong account.
Another common mistake is saving every file in the Downloads folder. After a few weeks, it becomes difficult to find reports, images, or content calendars. Instead, create separate folders for each client and keep everything organised from day one.
Many users also forget to back up important files. While a shared RDP is a great place to work, it should not be your only storage location. Save important documents to trusted cloud storage or your local computer so you always have a copy.
Finally, remember to log off after your work is complete instead of simply closing the Remote Desktop window. Logging off properly helps free up server resources and keeps your session secure.
These simple habits may seem small, but they can save time, reduce mistakes, and help you manage multiple clients with confidence. A well-organised shared RDP makes your workflow smoother and keeps your daily tasks stress-free.
How VostRDP Fits This Setup
VostRDP’s cheap shared RDP plans include a set of pre-installed browser and utility apps out of the box, so most of the steps above can start immediately after setup without waiting on support. If you outgrow the starter tier’s disc space as you add more clients, the higher shared tiers scale storage up to 300GB while keeping the same setup process. For anything requiring admin-level installs, check the FAQ page for the current request process.
Conclusion:
Setting up a shared RDP for client work isn’t complicated, but a little structure up front – separate browser profiles, a consistent folder system, and a clean log-off routine – is what turns a budget server into a genuinely reliable daily workspace. Once it’s set up this way, adding a new client is a five-minute task, not a fresh headache. Ready to get started? View VostRDP’s cheap shared RDP plans and have your workspace running the same day.
Frequently Asked Questions (FAQ)
2. Can I install my own scheduling software on a shared RDP?
Browser-based tools need no installation at all. Desktop software is more limited; shared plans don't include admin access, so anything not already pre-installed typically requires a support request rather than a self-service install.
3. How do I keep client files organized on a shared server?
Create a dedicated folder per client at the top level of your file system, mirror that structure in your bookmarks, and avoid storing files loosely in Downloads. This single habit prevents most of the disorganisation that makes multi-client RDP use frustrating.
4. Should I log off or just disconnect when I'm done for the day?
Log off rather than simply disconnecting. Logging off releases your share of the server's pooled resources back to the other users on the same machine, which is good etiquette on a shared plan and keeps performance consistent for everyone.
5. What if a client requires software the server doesn't have?
Check the plan's pre-installed application list first. If the software isn't included, submit a support request rather than attempting to install it yourself, since shared RDP plans intentionally restrict self-service installs to protect performance for all users on that server.
6. Can I manage social media accounts from a shared RDP?
Yes. A shared RDP is a practical choice for managing multiple social media accounts. Create separate browser profiles for each client, use trusted scheduling tools, and organize files into dedicated folders. This setup keeps accounts separate, reduces login confusion, and makes your daily workflow faster, safer, and easier to manage.
7. Is a shared RDP good for virtual assistants?
Yes. Shared RDP plans are a great option for virtual assistants handling emails, social media, research, and client administration. They provide a secure Windows environment that can be accessed from anywhere. With proper organization, you can manage multiple client accounts efficiently without needing several devices or separate computers.
8. How can I improve security when using a shared RDP?
Use strong passwords, keep separate browser profiles for every client, and always log off after completing your work. Store important files in secure cloud storage as a backup and avoid sharing login details with others. These simple steps help protect client information and keep your shared RDP workspace secure.
9. Can I access my shared RDP from different devices?
Yes. You can connect to your shared RDP from Windows, Mac, Linux, Android, or iPhone using a compatible Remote Desktop client. This lets you continue working from almost anywhere with an internet connection while keeping your files, settings, and browser profiles available in one place.
10. How many client accounts can I manage on a shared RDP?
There is no fixed limit. It depends on your workflow and your shared RDP plan's storage and resources. By creating separate browser profiles, organizing client folders, and using scheduling tools, you can manage multiple client accounts efficiently without creating confusion or slowing down your daily work.